How To Knead Bread In a Kitchen Aid Mixer
Hey there! Have you ever tried making bread dough at home? It can be a lot of fun, and the best part is that you can control exactly what goes into it. But have you ever tried kneading the dough by hand? It can be really tiring and take a lot of time. That’s where
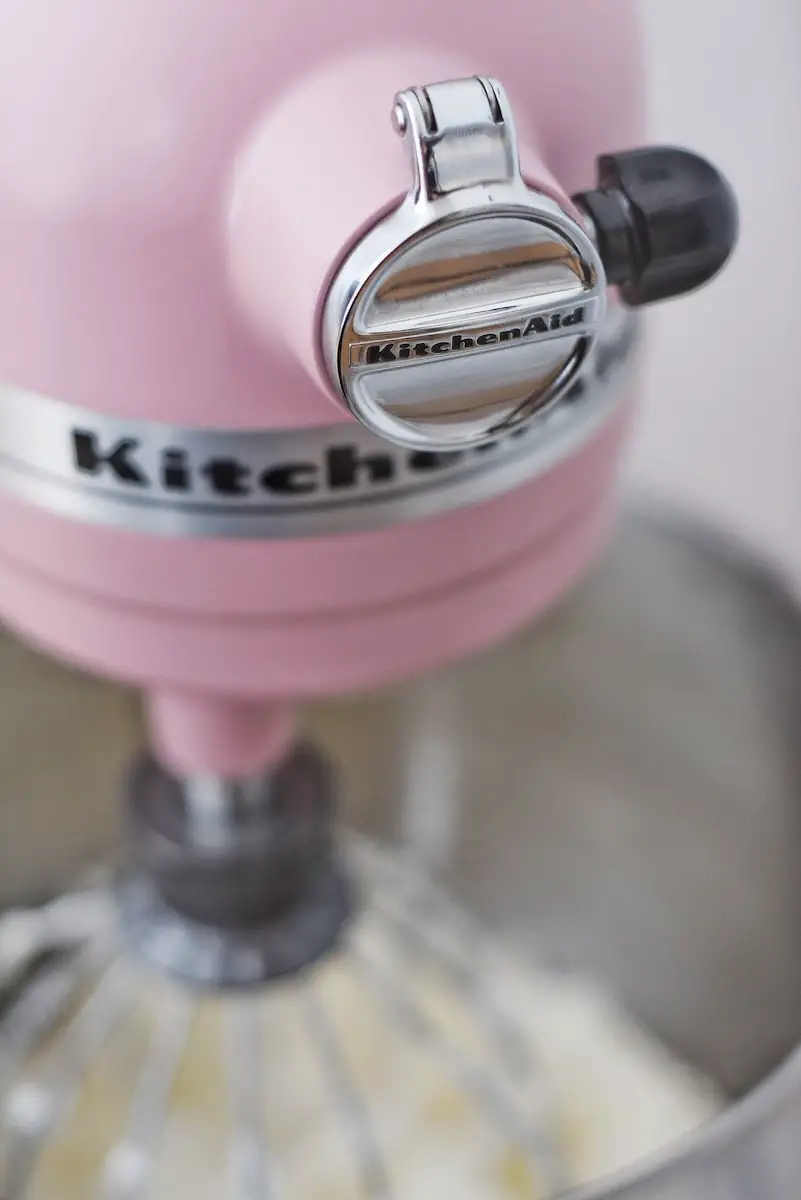
Hey there! Have you ever tried making bread dough at home? It can be a lot of fun, and the best part is that you can control exactly what goes into it. But have you ever tried kneading the dough by hand? It can be really tiring and take a lot of time. That’s where a Kitchen Aid mixer comes in! In this article, I’ll explain how to use a Kitchen Aid mixer to knead bread dough.
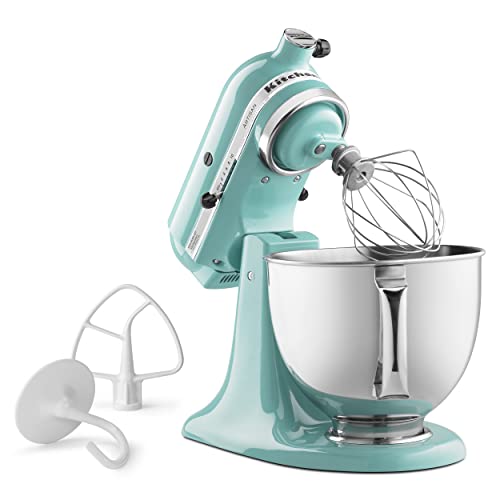
Here’s a handy step by step guide.
Step 1: Gather your ingredients Before you can start kneading your bread dough, you’ll need to gather your ingredients. For a basic bread dough, you’ll need flour, yeast, salt, water, and maybe a little sugar or oil. You’ll also need a Kitchen Aid mixer with a dough hook attachment.
Step 2: Combine your ingredients Next, you’ll need to combine your ingredients in the bowl of your Kitchen Aid mixer. Start by adding your flour, yeast, salt, and any other dry ingredients you’re using. Give the mixture a quick stir with a spoon or spatula to make sure everything is evenly distributed. Then, add your water (and any other wet ingredients) slowly, with the mixer running on low speed. Keep adding water until the dough comes together and forms a ball around the dough hook.
Step 3: Knead the dough Now it’s time to let the Kitchen Aid mixer do the hard work for you! Turn up the speed on your mixer to medium or medium-high and let it knead the dough for about 5-10 minutes. You’ll know the dough is ready when it’s smooth and elastic, and springs back when you press your finger into it.
Step 4: Check the consistency of the dough It’s important to check the consistency of the dough at this point. If it’s too dry and crumbly, add a little more water, a tablespoon at a time, until it comes together. If it’s too wet and sticky, add a little more flour, also a tablespoon at a time, until it’s smooth and elastic.
Step 5: Let the dough rise Once you’re happy with the consistency of the dough, it’s time to let it rise. Remove the dough hook from the mixer, cover the bowl with a clean kitchen towel, and set it aside in a warm, draft-free place. Let the dough rise for about an hour, or until it has doubled in size.
Step 6: Punch down and shape the dough After the dough has risen, it’s time to punch it down and shape it into whatever you want. You can make a loaf of bread, rolls, pizza dough, or anything else you can think of. Punch the dough down to release any air bubbles, then shape it into the desired shape. If you’re making bread, you can put it into a loaf pan or shape it into a round loaf and let it rise again before baking.
Step 7: Bake your bread Finally, it’s time to bake your bread! Preheat your oven to the temperature specified in your recipe, and bake the bread for the amount of time specified. You’ll know it’s done when it’s golden brown on the outside and sounds hollow when you tap it on the bottom.
Congratulations, you’ve just used your Kitchen Aid mixer to knead bread dough! Remember, it’s important to let the mixer do the hard work for you so that you don’t get tired or strain your hands. Plus, it’s a lot of fun to watch the dough come together and transform into a delicious loaf of bread. Happy baking!